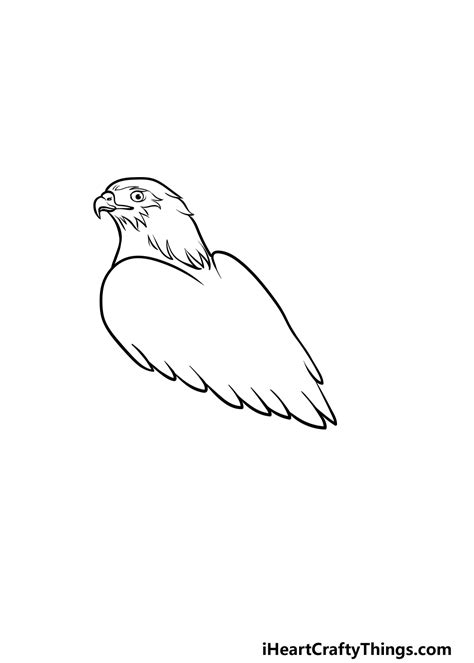
If you’re just starting out, this Hawk Outline Drawing Easy guide is designed to build confidence with a simple, beginner-friendly approach. By breaking the hawk down into clear shapes and following a calm, step-by-step routine, you’ll master the basic outline fast and set a solid foundation for shading and details. This Hawk Outline Drawing Easy method focuses on clean silhouettes, making it easier to achieve accurate proportions from the very first attempt.
Key Points
- Start with basic shapes (circle for head, oval for body) to lock proportions in Hawk Outline Drawing Easy.
- Keep lines light during the construction phase so you can adjust without heavy erasing.
- Study the hawk silhouette to capture its distinctive hooked beak and perched or soaring stance.
- Focus on the overall outline before adding internal details to maintain a strong shape.
- Practice by tracing references to build muscle memory and consistency in your Hawk Outline Drawing Easy.
Step 1: Gather materials and set up
Choose a light pencil (HB or 2H), a clean eraser, and smooth paper. Find a comfortable angle and good lighting. With Hawk Outline Drawing Easy, begin with loose construction lines so every proportion can be adjusted easily.
Step 2: Map the head and body
Draw a small circle for the hawk’s head and an elongated oval for the body. Keep the lines faint; these guides establish the basic proportions for your Hawk Outline Drawing Easy and allow you to refine without committing to final ink yet.
Step 3: Outline the beak, eyes, and wing silhouette
Sketch a curved beak that connects smoothly to the head circle, and place a simple eye marker. Add the main wing shape along the back to create a clean silhouette. This step emphasizes the overall shape before intricate features, aligning with the Hawk Outline Drawing Easy approach.
Step 4: Refine the outer contour
Thicken or darken the outer contour to define the hawk’s outline. Refine the neck, chest, wing tips, and tail edges while keeping key curves intact. A strong outer line makes the Hawk Outline Drawing Easy result pop on the page.
Step 5: Add subtle detail and finalize
Lightly add feather hints along the wings and tail, then erase stray construction lines. Check proportions again and adjust as needed. This final polish completes the Hawk Outline Drawing Easy process and prepares the drawing for shading if you choose.
With repetition, Hawk Outline Drawing Easy becomes quicker and more natural, helping you build a library of confident outlines that you can shade or fill later.
What materials are best for a beginner practicing Hawk Outline Drawing Easy?
+Start with a graphite pencil (HB for construction lines and 2H for lighter outlines), a soft eraser, and smooth drawing paper. A light touch and a clean workspace help you keep the Hawk Outline Drawing Easy lines adjustable without mess.
How long does it take a beginner to complete a Hawk Outline Drawing Easy?
+Many beginners can produce a confident outline within 20–30 minutes for a simple hawk pose. With regular practice, you may complete a clean outline in under 15 minutes as your muscle memory grows.
Can I adapt the Hawk Outline Drawing Easy method to different hawk poses?
+Yes. Once you’ve mastered the basic silhouette, adjust the wing position, tail angle, and neck tilt to show different poses. The key is maintaining a clear outer contour and proportional head-to-body relationships.
How should I progress after mastering the outline?
+Start adding light shading to suggest form, then gradually introduce feather texture with restrained strokes. Practice by comparing your outlines to reference images to improve accuracy and consistency in the Hawk Outline Drawing Easy technique.
Is shading required to complete a hawk drawing after outlining?
+No—your outline can stand alone as a strong, graphic representation. Shading is optional and can be added later to give volume and texture if you want a more realistic look.